How to Turn Real Textures Into Vectors Using Photoshop and Illustrator
Reading Time: 5 minutesYou can turn real-life textures like paint swatches into scalable vectors. Let’s show you how with Photoshop and Illustrator.
Adding real-life swatches to your design work adds elements of realism in what can be an oversaturated digital market. Unfortunately, scanning or photographing texture swatches usually results in unscalable raster images that pixelate when overedited.
Luckily, you can create scalable vectors of real textures like watercolor, paint, or marker pen using Photoshop and Illustrator. Here’s how.
How to Turn Real Textures Into Vectors
It’s up to you to create the texture yourself or find a swatch online to make into a vector. You can use any textured art medium, such as a felt tip pen, Indian ink, or blobs of paint.
Step 1: Open the Texture Swatch in Photoshop
If you’ve created the texture yourself, you need to scan it into a computer at 300 DPI. This ensures the highest quality which yields the best results.
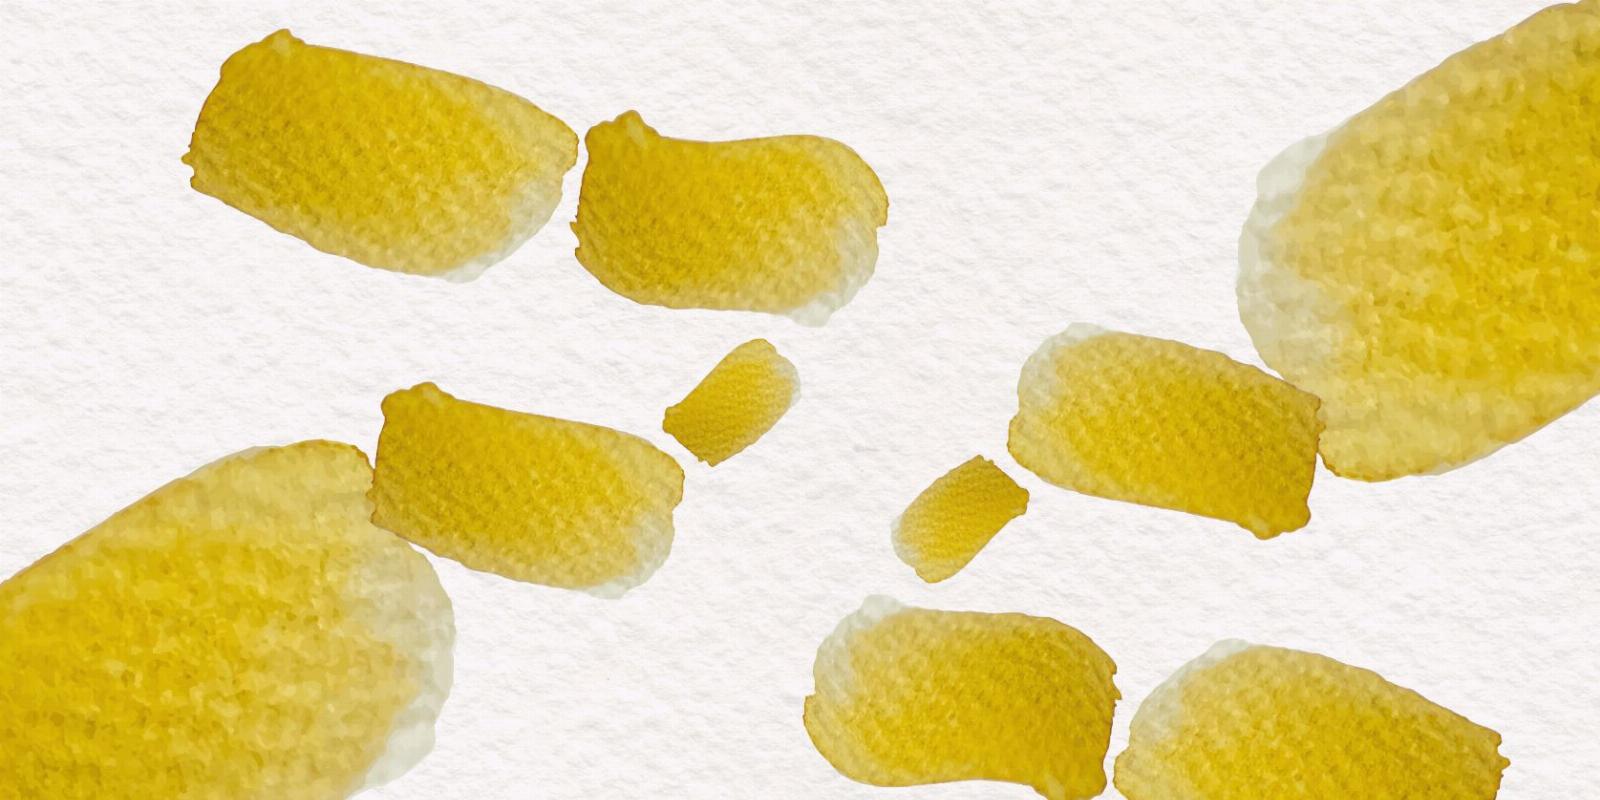
We’ve downloaded a photo of a watercolor swatch from Unsplash to make into a vector. Download the same photo to follow directly, or you can use the instructions as a guide on a swatch image of your own.
Open your image in Photoshop and crop it close to the swatch you’re using. If the image isn’t already 300 DPI, it needs to be. Go to Image > Image Size and type 300 into the Resolution box. Select OK.
Now you’ve got a high-quality image that will render into a detailed vector later. You can also change the DPI in other programs if you’re not using Photoshop.
Step 2: Clean Up the Background
The swatch itself needs to be isolated from the background. If you’ve scanned your swatch or used a photo with a plain white or one-colored background, this will be much easier for you.
Create a new layer on the Layer palette, then drag it under your image layer. Select the image layer.
Go to Select > Color Range. Select the eyedropper from the dialog box and use it to select any part of the background on your artboard. Use the Fuzziness slider to ensure the selection is tight against your swatch. Then press OK.
Once back to the artboard, the color range area will have running ants to show the selection. Hit Delete to remove the background. Then deselect the selection by hitting Cmd + D (Mac) or Ctrl + D (Windows). If your background is plain with no shadow or texture, that’s all you have to do.
If your background is multi-colored, has shadows, or other textures, you might have to repeat this process a few times. In the Color Range dialog box, select different parts of the background with the eyedropper and play with the Fuzziness slider to select as much of the background as you can. Select OK and hit Delete.
Deselect by hitting Cmd + D (Mac) or Ctrl + D (Windows). If there’s still more of the background left, either do the Color Range process again, use the Eraser tool (E) to remove stubborn pixels, or use the Lasso tool (L) to tightly select around your swatch, and then Delete the selection.
Place a contrasting color rectangle using the Rectangle tool (U) under your swatch layer to expose any extra pixels that need removing. Remove them with the Eraser. Remember to delete the rectangle before saving your image.
Once done, you’ll have an isolated paint swatch with a transparent background surrounding it. Save your swatch as a PNG.
If you don’t have Photoshop, there are alternative ways to make an image background transparent. You can then bring that image straight into Illustrator and carry on from here.
Step 3: Open the Image in Illustrator
Open your new swatch PNG in Illustrator. You can select and drag your image off the artboard to check that the background is still transparent. Although, it won’t stay that way in the next step. At this point, your swatch is still a raster, so it will pixelate if scaled.
Combining both Photoshop and Illustrator for one project is a great way to utilize Adobe Creative Cloud. There are many other features across the Creative Cloud that you can try.
Step 4: Vectorize the Image
Open the Properties panel by going to Window > Properties. You can maximize or minimize the panel by selecting it from the right-hand vertical toolbar.
Select your image, then scroll to the bottom of the Properties panel and select Image Trace > High Fidelity Photo. If you select Image Trace from the Object menu, it will default to a black-and-white trace, which isn’t going to preserve the texture of your swatch. You can use the Image Trace function in many ways to vectorize images in Illustrator.
Step 5: Clean Up and Remove the Background
Open the Image Trace panel by selecting the icon next to the Image Trace dropdown in the Properties panel. Under Color, move the slider to the right, somewhere between 85% and 98%. This increases the details of the colors in your textured swatch, giving it a more realistic result.
Open the Advanced settings and move the Paths slider over to the right. Again, setting this between 85% and 98% is ideal. The more paths there are, the more detail is drawn in your vector. If there are fewer paths, the image will look choppy and cartoon-like.
Minimize the Image Trace and Properties panels and your swatch will be covered in blue path lines. If you want to move your swatch vector, you’ll need to use the Selection tool (V) to ensure it moves as a whole. But you can move individual paths, if needed, using the Direct Selection tool.
Select the Direct Selection tool (A) and click off your artboard to deselect the image. Then select the white background surrounding your swatch. Hit Delete on your keyboard to bring back your transparent background. You can add a colored rectangle under your swatch to check the transparency.
Step 6: Use Your Swatch Vector
Now you have a finished texture swatch. Whether you decided to make a watercolor piece like our tutorial, or perhaps you made a colored pencil swatch, you now have a fully scalable real-life texture swatch.
Unfortunately, because of all the intricate paths, it would be difficult—but not impossible—to recolor your swatch. To use the vector, you should keep the color the same. If you want to recolor it, you’ll have to colorize it in Photoshop first before bringing your swatch into Illustrator.
You can use your vector just like any other vector. Scale it up or down, use it as a layered element in designs, and you can even apply filters to it such as skew and distort.
Save your vector as a PNG to ensure it stays transparent. See our guide to creating transparent backgrounds in Illustrator for more.
Create Vectors From Real Textures With Photoshop and Illustrator
Using vectors in your design work improves productivity and the quality of your final designs. Not only does this one vector have multiple uses, but using a vector graphic rather than a raster graphic means you never have to worry about pixelization again.
Vectorizing real textures means you can add swatches of paint to any design element, making it look like the real thing. Refer back to this guide to turn real textures into digital vectors.
Reference: https://www.makeuseof.com/photoshop-illustrator-how-to-turn-real-textures-into-vectors/
-> Free Online Video Downloader, Download Any Video From YouTube, VK, Vimeo, Twitter, Twitch, Tumblr, Tiktok, Telegram, TED, Streamable, Soundcloud, Snapchat, Share, Rumble, Reddit, PuhuTV, Pinterest, Periscope, Ok.ru, MxTakatak, Mixcloud, Mashable, LinkedIn, Likee, Kwai, Izlesene, Instagram, Imgur, IMDB, Ifunny, Gaana, Flickr, Febspot, Facebook, ESPN, Douyin, Dailymotion, Buzzfeed, BluTV, Blogger, Bitchute, Bilibili, Bandcamp, Akıllı, 9GAG
Ref: makeuseof