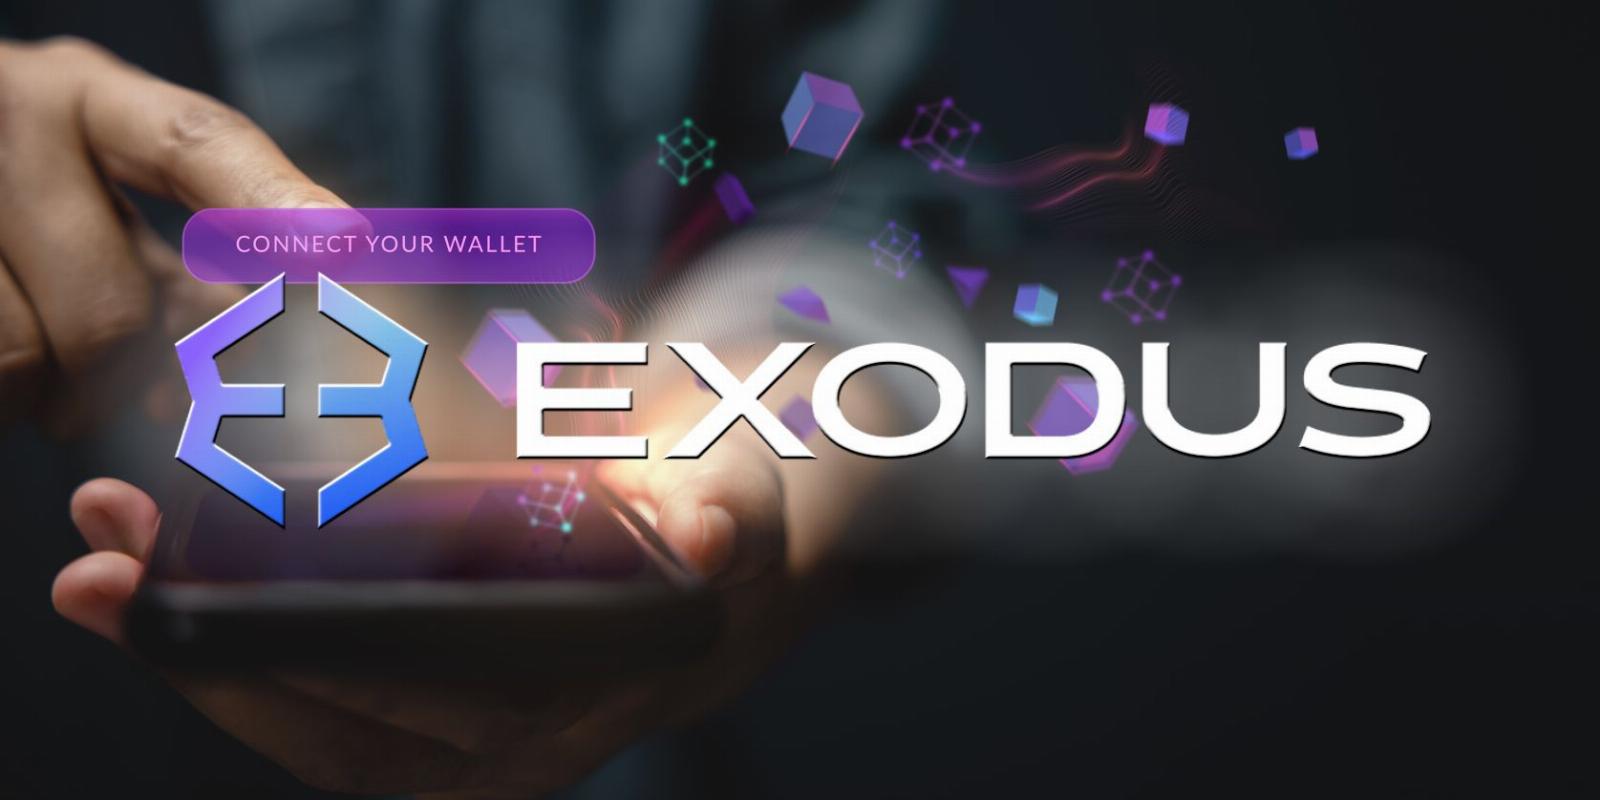
How to Set Up and Use the Exodus Web3 Wallet
Reading Time: 4 minutesThe Exodus Web3 Wallet is one of the best Web3 wallets around, and this is how you can start using it.
Web3 wallets are great for those who own crypto and NFTs and are useful in the DeFi space. Exodus is a prime example of a Web3 wallet and also offers a highly-rated software crypto wallet. But how do you set up an Exodus Web3 Wallet, and how is the Exodus Web3 Wallet used?
1. Download Exodus Multichain Web3 Wallet Extension
The Exodus Multichain Web3 Wallet is a browser extension, not an application. However, it still needs to be installed.
To download this extension, you’ll need to head to the Exodus website or search for the Exodus Multichain Web3 Wallet in your browser.
On the Exodus Web3 Wallet page, you’ll be able to read about the wallet and its features so that you can decide if it’s the right option. At the top of the page, you’ll be given the option to download the Exodus Web3 Wallet for either Google Chrome or Brave. We’ll be downloading it using Google Chrome in this tutorial.
Click on the download option, and you’ll be taken to the default extension download page used by your chosen browser. Click the Add to Chrome option and confirm in the popup window that you want to add the extension.
Download: Exodus Multichain Web3 Wallet for Chrome and Brave (Free)
2. Set Up Your Exodus Web3 Wallet
Once the Web3 wallet extension is downloaded, you’ll be automatically taken to the Exodus extension setup page. This is where you start the setup process. You can either go through Exodus’s introductory slides or skip this part and get straight to the setup.
We’ll show you how to set up the wallet from scratch, assuming you don’t already have one. If you do, click the I Have a Wallet option to log in. Otherwise, click on the Create New Wallet option.
Now, you’ll need to create your own password. Make sure this password is strong and unique, with a mixture of numbers, symbols, and cases. You also need to write your password down or store it on a secure digital platform, as you cannot recover it if it gets lost.
After you’ve entered and re-entered your password, you’ll be taken to the Exodus welcome page. You can now open your wallet in your browser extensions or pin the extension to your browser for quick access.
To pin the Exodus extension in Chrome, click on the jigsaw-shaped extension icon at the top right of the page and then click the pin icon next to the Exodus Web3 Wallet extension. You’ll see a small blue Exodus icon next to your search bar.
Exodus will provide you with some brief instructions on the next page, as shown above.
3. Fund Your Exodus Web3 Wallet
If you’ve already pinned the extension or would rather go without this step, the next step is to fund your wallet. You can purchase funds directly through your Web3 wallet, either via Ramp or MoonPay.
To buy funds, you’ll need to head to the extension itself, as shown below. Click on the small payment card icon at the bottom of the window, and you’ll be shown your wallet balance.
In this section, you can also buy or receive funds. If you want to buy funds outright, click on the Buy option. You’ll then be able to choose what kind of crypto you want to buy and how much.
Once you confirm this, you’ll be automatically taken to the Ramp purchase page, as shown below.
To complete your purchase, you’ll need to provide Ramp with some information, including your email address, wallet address, and payment information.
Alternatively, you can receive funds to your Exodus Web3 wallet from another source. To do this, click Receive under your wallet balance in the extension window and select the cryptocurrency you want to receive. You’ll then be provided with a QR code that can be scanned and a copy of your Bitcoin address.
4. Connect to Web3 DApps
The core purpose of a Web3 wallet is to connect to decentralized applications (DApps), so this is a crucial step in your Exodus setup.
Firstly, click on the Exodus Web3 connection banner at the top of the DApp page on your web browser. If there is no banner, head to the wallet connections option on whatever DApp you’re using and select Exodus from the provided options. You’ll then see a popup asking you to confirm your connection. Simply click Connect, and you’re good to go.
Exodus also offers an auto-connect option to automatically link your Web3 wallet to the sites you trust.
Using Your Exodus Web3 Extension
Now you’ve set up your wallet, you can start using it. The Exodus Web3 Wallet extension is pretty straightforward to use, but we’ll run you through what each section is for so that you can navigate it more easily.
The hexagonal blue icon at the center of the extension window is the swap option. Use this if you want to swap crypto for your desired return asset. The leftmost icon is essentially the extension home page, where you can explore various resources and features, such as staking rewards and NFT galleries.
The dollar sign icon also lets you buy and sell crypto. The rightmost icon gives you a choice of numerous options so that you can navigate the extension quickly. Choose from Web3, connections, NFTs, history, assets, security, settings, and support.
In this section, you can also head to the Learn the Basics section, which will help you learn more about the Exodus Web3 Wallet. This webpage runs you through an array of important notes, such as the difference between Web3 and crypto, how to back up your Web3 Wallet, and how to connect an unlisted Web3 app.
And, as we already know, the payment card icon takes you to your wallet balance and purchase/receive options.
The Exodus Web3 Wallet Is Quick and Easy to Set Up
It takes mere minutes to set up and connect your Exodus Web3 Wallet. You don’t have to provide copious amounts of information or wait for verification. Just follow the steps above and your Web3 Wallet will be ready to use across the DeFi world in no time.
Reference: https://www.makeuseof.com/how-to-set-up-exodus-web3-wallet/
Ref: makeuseof
MediaDownloader.net -> Free Online Video Downloader, Download Any Video From YouTube, VK, Vimeo, Twitter, Twitch, Tumblr, Tiktok, Telegram, TED, Streamable, Soundcloud, Snapchat, Share, Rumble, Reddit, PuhuTV, Pinterest, Periscope, Ok.ru, MxTakatak, Mixcloud, Mashable, LinkedIn, Likee, Kwai, Izlesene, Instagram, Imgur, IMDB, Ifunny, Gaana, Flickr, Febspot, Facebook, ESPN, Douyin, Dailymotion, Buzzfeed, BluTV, Blogger, Bitchute, Bilibili, Bandcamp, Akıllı, 9GAG