How to Make Your Own Photo Book: A Step-by-Step Guide
Reading Time: 5 minutesWhat better way to showcase your photography work than with a photo book? You can easily make one yourself.
Creating a photo book is one of the best ways to showcase your work in a physical form without needing to print each photo separately. Even if you aren’t necessarily a photographer, these books can also look great with smartphone photos of couples or shots from scenic vacations. As long as your photos are around 12 megapixels and 300 DPI, they’ll look beautiful.
Here’s how to create your own photo book.
1. Gather Your Photos
This is one of the most important parts of creating a photo book. You want your book to have a certain feel to it and be consistent throughout. If you’re a professional photographer simply looking to showcase your best work, create an album in Lightroom CC, or your photo culling software of choice, and select the highest quality photos.
There’s no need to get too picky at this stage, but staying organized will help you in the long run. Depending on how many photos you’re adding, you may want to create separate albums; create one for landscapes, and another for portraits, architecture, etc. For those mainly using smartphone photos, creating albums in Google Photos or Apple’s Photos app will suffice.
Learn more about making the most of Apple’s photo organization features.
2. Choose the Right Printer
This can be one of the most overwhelming parts of creating a photo book. With one Google search comes hundreds of offerings from numerous companies, some of which you’ve heard of, others you never knew existed.
Some of the familiar faces include Google Photos, Canva, Shutterfly, and many retail companies like Walmart. You’ll also come across companies that solely specialize in photo books and professional-level prints, such as Lulu and Blurb.
Some printers provide software to design your book (which we’ll get into later), some give you more freedom with layouts and other facets of graphic design, while others keep it as simple as possible to expedite the process and not overwhelm first-time photo book creators.
The choice is yours, but we recommend Blurb. Blurb’s books can be expensive depending on the number of pages, types of pages, and cover type, but the print quality is excellent, and its software gives you just enough freedom to get creative.
3. Choose the Book Size, Cover, and Page Type
This can be a little overwhelming for those just getting started, so let’s walk through them. We’ll be covering the most common options from Blurb, but many printers will provide you with similar offerings.
Book Size
You have many book sizes to choose from, but you should choose one before designing. Some of Blurb’s offerings include Square 7×7 in., Portrait 8×10 in., Landscape 10×8 in., Large Landscape 13×11 in., and Large Square 12×12 in.
Those looking for affordability and using mostly smartphone photos may opt for the square book. Photographers who take more portraits may like laying out their photos in the 8×10 inch portrait, while landscape photographers may opt for the 10×8 inch landscape.
Our preference is the 10×8 inch landscape option, as it looks like the perfect coffee table book compared to the other offerings. Photographers who take very high-quality photos and want to wow their clients may want to opt for the largest 13×11 inch landscape option.
Cover Types
The cover types are fairly straightforward. Those who are designing a book to sell or delivering to a client for something like wedding photos should opt for a hardcover. It’s more expensive but looks the most professional.
Blurb also offers a hardcover layflat option, which is best for photographers who take many landscapes and stretch photos across two pages.
The softcovers are more affordable and look great as well, but are prone to damage more than the durable hardcovers.
Paper Types
The type of paper can give your photos a certain look to them and be the difference between feeling cheap and bookstore quality. If you want to see the differences in-person, Blurb sells a swatch kit with all the paper types to give you confidence in the one you choose. The price will be deducted from the cost of your final book.
For the best-looking photos possible, photographers should opt for the Mohawk proPhoto Pearl paper, which is thick, glossy, and makes colors pop. The Mohawk Superfine Eggshell is an uncoated stock that gives your photos a more artsy look due to the paper’s eggshell texture, but may accentuate grain in certain photos.
There are also more affordable options, such as Premium Lustre, another glossy option that’s great for colorful photos, and Premium Matte, for those who want to avoid the glare that glossy paper attracts.
The cheapest option is the standard paper, but it’s very thin, making it prone to ripping, so we do not recommend that option, even if it is cheap.
4. Use the Right Software
There are many software options for designing your photo book, but which you choose highly depends on your skill level in graphic design.
Those who want the most creative freedom can use Adobe InDesign using Blurb’s InDesign Plugin. This will give you the most options in terms of photo layout, font type, and so on. However, the software can be very overwhelming for beginners.
Those already paying for Adobe Creative Cloud may want to opt for Lightroom Classic, which has its own built-in book module. This is the perfect option for those who already use Lightroom Classic with all of their photos imported. You can also export your book directly from Lightroom into Blurb for printing.
The downside of using Lightroom Classic to design your photo book is it’s not very beginner-friendly for those who mainly use Lightroom CC, which has a much more modern feel and is easier to learn. Formatting text in Lightroom Classic can also be a pain, so those planning to write alongside their photos may get frustrated pretty quickly.
Although there’s a learning curve, there are some great ways to use Lightroom Classic and CC together.
Luckily, Blurb has its own software called BookWright. You can import photos directly from Lightroom, and sorting through them within BookWright is surprisingly easy. It also has built-in layout templates for portrait, landscape, and square photos; all you need to do is drag and drop your photos, then resize as needed.
Its text options are also plentiful for those wanting to get creative with titles and captions. BookWright doesn’t give you as much creative freedom as Adobe InDesign, but it’s a great in-between option for those who are looking to format text with their photos.
Looking to challenge yourself? See how you can learn Adobe InDesign for free.
5. Layout Tips
The software you use to create your photo book, including BookWright and Lightroom Classic, have templates to make laying out easy. Here are a few things to try while designing your photo book to see which works best for your photos.
Portrait photos can be placed next to each other with even space between them. This creates a border around your photos, displaying them more like art. You also have the option to stretch one portrait photo across the entire page.
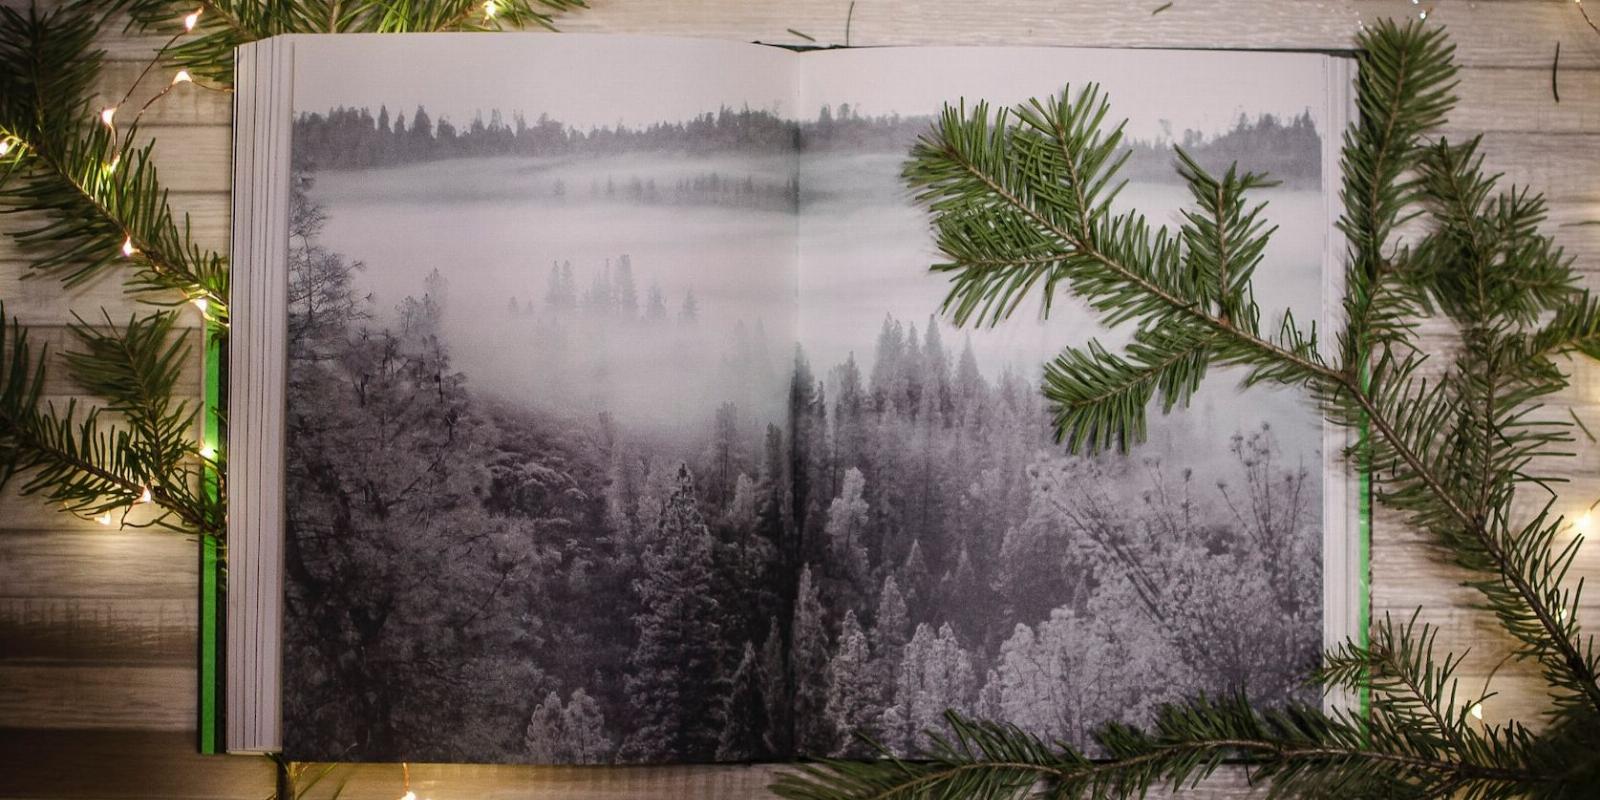
You can do the same with landscape photos; lay one above another, or stretch it across two pages, which makes it look very impressive. Smartphone or square photos may look best in a group of four. Play around with various templates and see what looks best for your photos.
Choosing the right font for your book is also important, but can get overwhelming very quickly. For the cover and spine, Bebas Neue looks modern yet classy, which is great for a photo book of any occasion.
For paragraphs and titles on the inside of the book, Source Serif Pro tends to look nice as well. This font is used by the blogging platform, Medium; it reads easy and looks nice alongside your photos.
Showcase Your Work in a Photo Book
Seeing your photos in print is such an amazing experience. It makes you more appreciative of graphic design in photo books you’ve enjoyed in the past. Showcasing your photography in a photo book can also help you think more about composition and your work as a whole, making you a better photographer.
Reference: https://www.makeuseof.com/how-to-make-photo-book-guide/
Ref: makeuseof
MediaDownloader.net -> Free Online Video Downloader, Download Any Video From YouTube, VK, Vimeo, Twitter, Twitch, Tumblr, Tiktok, Telegram, TED, Streamable, Soundcloud, Snapchat, Share, Rumble, Reddit, PuhuTV, Pinterest, Periscope, Ok.ru, MxTakatak, Mixcloud, Mashable, LinkedIn, Likee, Kwai, Izlesene, Instagram, Imgur, IMDB, Ifunny, Gaana, Flickr, Febspot, Facebook, ESPN, Douyin, Dailymotion, Buzzfeed, BluTV, Blogger, Bitchute, Bilibili, Bandcamp, Akıllı, 9GAG