How to Do a Realistic Head Swap Using Photoshop
Reading Time: 5 minutesDoing a head swap can be fun, but usually, the results aren’t realistic. We’ll show you how to do a believable head swap in Photoshop.
There are many examples of quick head swap tutorials out there that rarely look realistic. In this tutorial, we’re going to show you a tried and true method to swap out heads in Photoshop, and the result is a believable image almost every time.
Things to Consider When Doing a Head Swap
There are three main considerations when it comes to doing head swaps in Photoshop. You’ll want to carefully plan your head swap with regard to each image’s lighting, body positioning and perspective, and which portions of the head and face to swap.
Lighting
First and foremost, the lighting of each image should match. The direction of the light should match as well as the light’s quality, whether it’s hard light with dark shadows or soft light with lighter or fewer shadows.
Perspective and Positioning
The perspective of each image must also match. The perspective from which both photos were taken (low, eye level, high, etc.) must be the same, as well as the positioning of the head.
How Much of the Head Do You Want to Swap?
The final consideration is how much of the head should be swapped to pull off the effect. For our example, we will copy the entire head of one image and swap it out. But we’ll strategically choose which pixels to actually keep in order to make a believable composite.
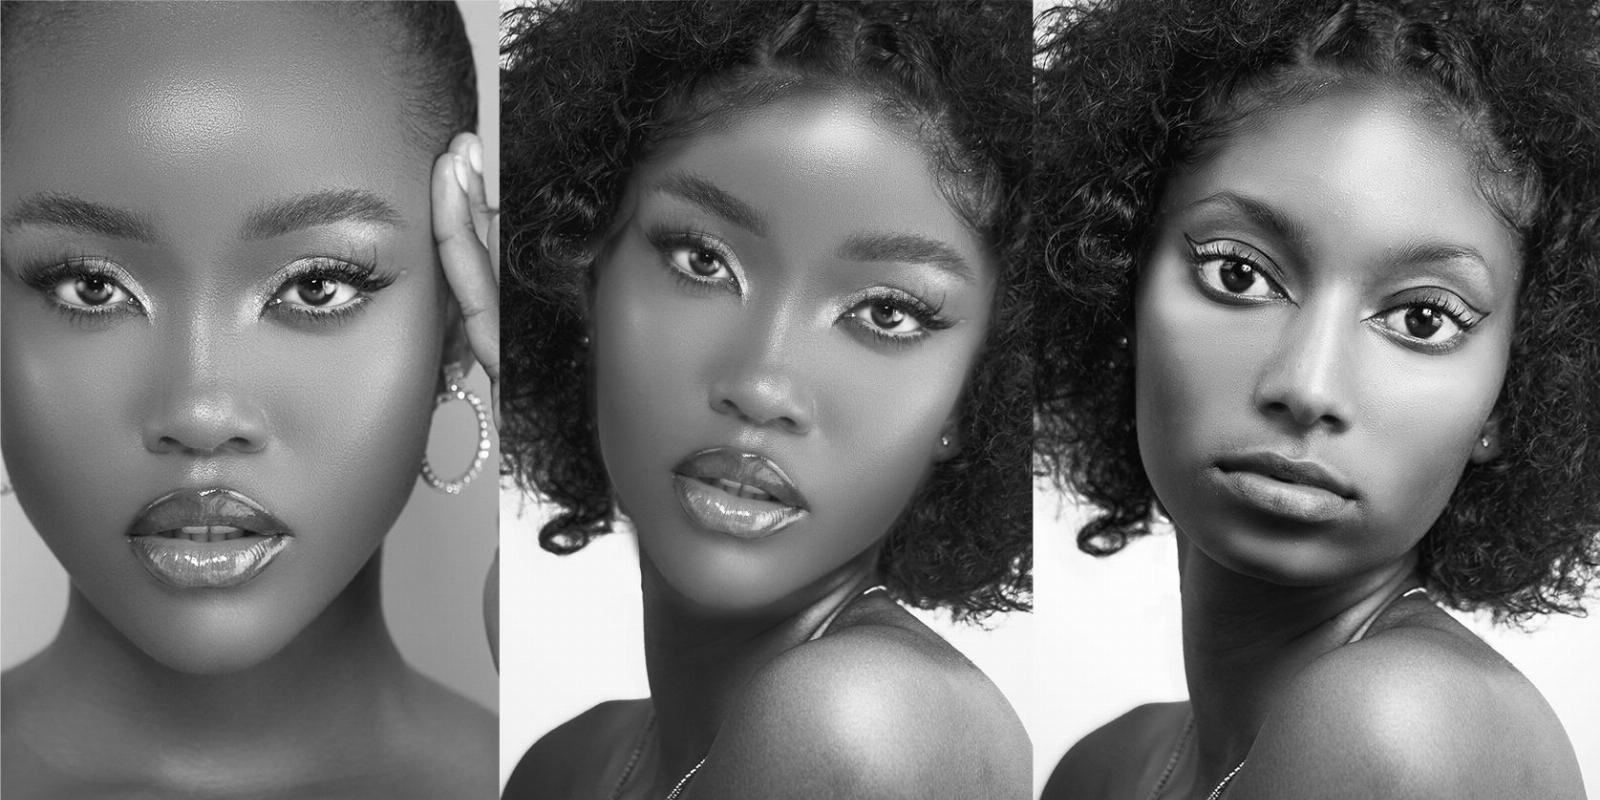
For our tutorial, we’ll be swapping out the woman’s head on the left with the woman’s head on the right. We took into consideration all three points before proceeding to the editing stage.
If you’d like to follow along with us, you can download the first picture from Pexels as well as the second picture from Pexels.
1. Copy the Head Onto the Body
The first major step is to perform the actual head swap in Photoshop. To do this, we used the Lasso tool to select the model’s head and a few other tools to place the head on the new body.
- Use the Lasso tool (L key) to select the head that you want to swap.
- Press Ctrl + C to copy the selection. Then go to the other file and press Ctrl + P to paste the face.
- Right-click on Layer 1 (the new face) and select Convert to Smart Object.
- Press Ctrl + T for the Transform tool.
- Reduce the Opacity on Layer 1 to 50% so that you can see the Background layer too.
- Use the handles to match up the facial features of both images the best that you can. Then press Enter or click on the checkmark.
- Increase the Opacity of Layer 1 back to 100%.
- Add a layer mask to Layer 1 by clicking on the icon at the bottom in Photoshop.
- Press B for the Brush tool. Choose a Soft Round Brush.
- With the Foreground color set to black, click on the Layer 1 mask and brush away the unwanted pixels of the new head. If you need help, see our beginner’s guide to using the Brush tool in Photoshop.
We’ve successfully swapped out our subject’s head and masked out all the unwanted pixels. So far, so good. Let’s begin to blend the brightness and saturation values.
2. Match the Brightness Values of the Head and Body
It’s obvious that only performing a head swap alone doesn’t result in a believable image. We now have to match the brightness and saturation values using Curves and Hue/Saturation adjustments with the appropriate clipping masks. We’ll start with an exposure check layer so that we can work on the images without saturation being a distraction.
- Create a Solid Color adjustment layer.
- Change the S (Saturation) value to 0. Then click OK.
- Change the Blending Mode of the Solid Color layer to Color.
- With the Background layer active, create a Curves adjustment layer.
- Under Properties, click on the hand tool.
- To bring the exposure values of the shoulder in line with our subject’s face, we sampled the highlights on the shoulders. Then with the mouse, we lowered the curve. You may have to make multiple points for different images.
- If you turn off the Color Fill layer, you’ll notice that the shoulders and body are now close to the exposure values of the face and head. For your own images, you may have to make additional adjustments to the Curves layer to make it look good.
- The face is too bright and needs to be darkened. Create a Curves layer just above the face and clip it to Layer 1, so any adjustments will only affect the face. We explain how to do this in detail in our Photoshop Curves tool guide.
- As before, use the hand tool to sample the brightest spot on the subject’s face and lower the curve until the face is as dark as the shoulders.
- Create a Hue/Saturation adjustment layer above the Curves 2 layer and clip it so that adjustments will once again only affect the face.
- Once again, click on the hand tool in the Properties panel of the Hue/Saturation layer, and lower the Saturation by moving the mouse to the left until the face and the body match. We reduced the Saturation to -34 in the Reds channel after sampling the subject’s face.
We were able to match the exposure values and the colors with only two Curves layers and one Hue/Saturation adjustment layer. In more complex images with different exposure values and multiple colors, you may have to create multiple clipping masks to make it work.
3. Global Adjustments for the Finishing Touches
Global adjustments are effects that apply to the entire image. They’re especially useful for compositing, when you’re introducing new images or partial images into a single file, like what we’ve done for our head swap. Ultimately, they serve to blend all the pixels together to make the entire image look more natural and realistic.
For our example, we first added a Color Lookup table to the top of the layer stack and chose Candlelight Cube. We reduced the Opacity to 50%.
And for the final touch, we added a Color Balance adjustment and adjusted the sliders for the Highlights, Midtones, and Shadows.
The type of global adjustments, and how many you use, are up to you; it depends on the image you’re working with. The goal is to make the head swap look natural.
With Photoshop, there are usually several ways to accomplish a realistic head swap. As long as you make use of the adjustment layers and all the powerful tools, then you’ll likely be successful in creating a believable head swap.
You could also use third-party apps like Luminar Neo to help create awesome photo composites.
Photoshop Makes Head Swaps Look Realistic
Now that we’ve shown you how to do a head swap in Photoshop, try it out for yourself with your own images. This head swap workflow works for simple and complex images, and you will end up with realistic results almost every time.
Reference: https://www.makeuseof.com/photoshop-how-to-head-swap/
Ref: makeuseof
MediaDownloader.net -> Free Online Video Downloader, Download Any Video From YouTube, VK, Vimeo, Twitter, Twitch, Tumblr, Tiktok, Telegram, TED, Streamable, Soundcloud, Snapchat, Share, Rumble, Reddit, PuhuTV, Pinterest, Periscope, Ok.ru, MxTakatak, Mixcloud, Mashable, LinkedIn, Likee, Kwai, Izlesene, Instagram, Imgur, IMDB, Ifunny, Gaana, Flickr, Febspot, Facebook, ESPN, Douyin, Dailymotion, Buzzfeed, BluTV, Blogger, Bitchute, Bilibili, Bandcamp, Akıllı, 9GAG