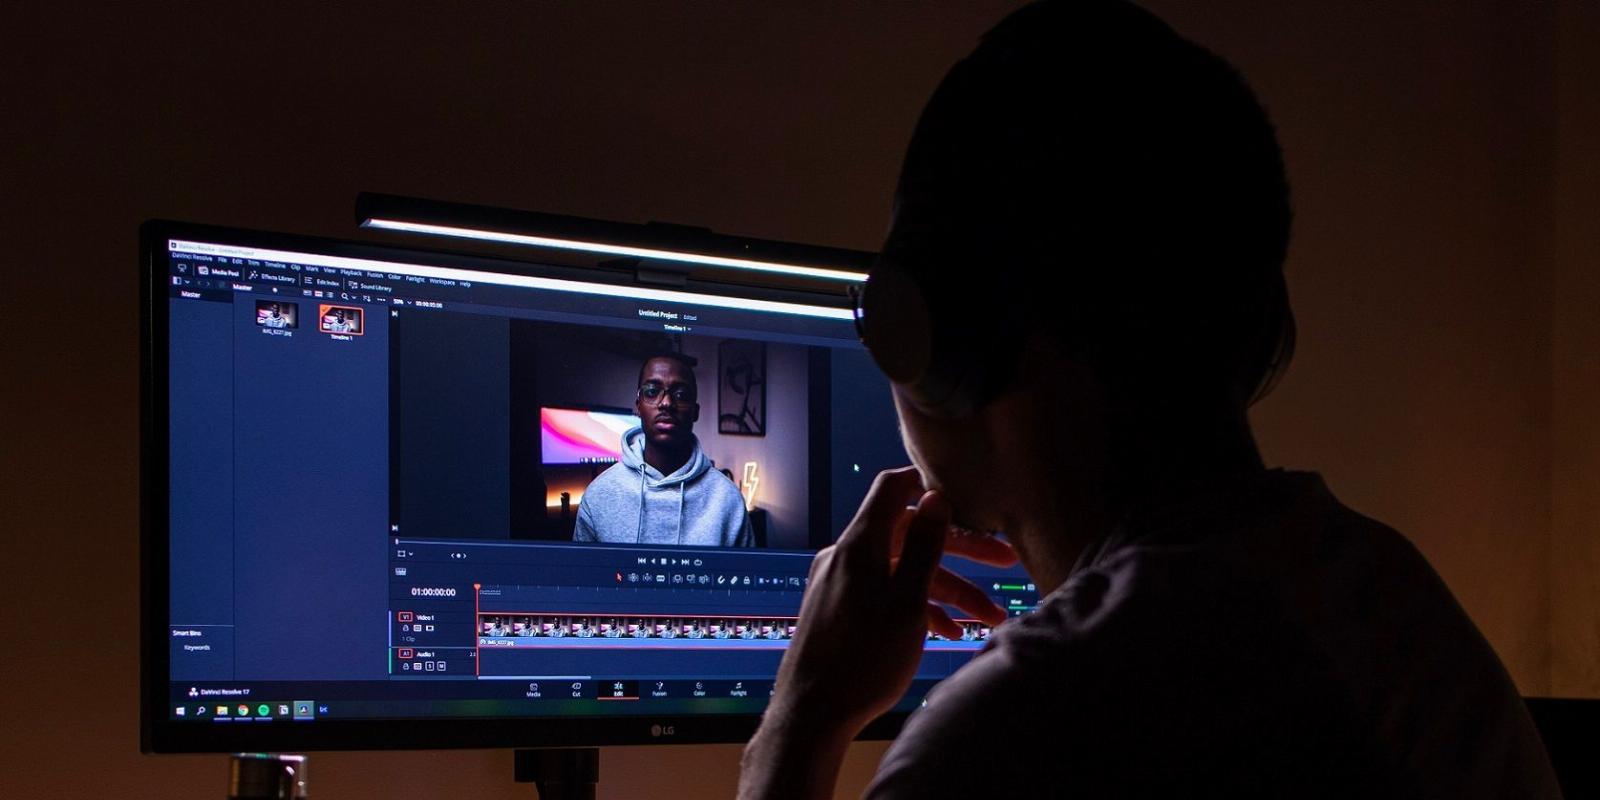
How to Create an Animated Lower Third in DaVinci Resolve
Reading Time: 4 minutesInsert any tidbit of information you want into your video by utilizing a lower third. Let’s show you how to create and animate it in DaVinci Resolve.
A lower third is a position of the screen that features a piece of text or graphic overlay. If the screen is split into horizontal thirds, it would be the third closest to the bottom of the screen. Utilizing the lower third is a great way of introducing content that will inform and give an extra layer of entertainment to your video.
Let’s show you how to create a lower third in DaVinci Resolve, as well as animate it.
How to Create and Animate a Lower Third in DaVinci Resolve
If you are just getting started with video editing, it’s worth downloading a copy of DaVinci Resolve. For a quick overview, see our guide on the tab layout style of DaVinci Resolve.
With just three steps, adding and animating content in the lower third is straightforward. Let’s use the example of a title text overlay for this tutorial.
1. Ready Your Clip
Open DaVinci Resolve, and in the Cut tab, right-click anywhere in the top-left box, and select Import Media to bring in your footage. You can also simply drag and drop the media from its file location on your device.
With the media in your timeline, cut the clip down to the required size if needed. Then, decide where you would like to have the lower third on the timeline and either mark it with the play head, or even better, a marker. To place a marker, click on the little blue marker icon; it is situated on the upper-left portion of the timeline.
When your rough cut is complete and the footage is marked and ready in the timeline, we can add the content to the lower third.
2. Build Your Lower Third
For our title text example, we start by navigating to the Edit tab, represented by a symbol with a small blue and green timeline. There should be a box in the top left with Toolbox, Open FX, and Audio FX.
Click on the arrow next to Toolbox, and you’ll see five further options. Let’s use the third option, Titles. Conveniently, Resolve labels the titles we need as Lower Third. Even better, they are the first three options.
With the play head or marker as a reference point on the timeline, drag the lower third over to Video 2. Then double-click on it. On the right-hand side, you should now see the lower third’s menu. If not, then it’s worth clicking on it again as it does need to be selected in order to be used.
Here, you can type the required text into the rich text box, remembering that the first box governs the text above, and the second box governs the text below. Below the rich text box, there are a number of options to tweak, such as the font size, color, and opacity. It is also possible to create a background for the text.
If you choose to add a background to the text, you may not be able to see it at first. This is because the default number for the background height is 0, so you will need to increase this number in order to make it visible.
After you have perfected the look of your title, you can start animating it.
3. Animate Your Lower Third
X-axis movement can be altered in the same menu that features the rich text box. This is a nice way to add a basic motion to the text; it gives a slide-in and slide-out effect.
To do this, look for the small diamond shape next to Position X and Y. This diamond is the keyframe generator. See our detailed explainer of what keyframes are in video editing to better understand how they work.
With the keyframe selected, you can either drag the slider over the number in order to position the object by your best judgment, or you can enter a specific coordinate manually.
It is also possible to check the position of the keyframes and readjust them if needed. Back on the timeline, there should be two symbols after the title of the clip. One will look like a zigzag line with two circles, the other is the keyframe symbol.
Clicking on the keyframe symbol will reveal their positions on the timeline. Here they can be moved or deleted accordingly.
If any mistakes are made, it is easy enough to undo them from the Edit tab. And if you don’t wish to backtrack too far, you can hit the circular arrow icon to the right of the keyframe. This will reset that particular setting.
It is important to note here that if you are creating content for a specific broadcast format, you can check the safe region of your project window. Simply head up to View > Safe Area > On within the menu bar.
It Doesn’t Have to Be a Title
While we have focused on creating a title to occupy the lower third, it’s worth having a play with other graphics. You can even use another video file as the object in the lower third in order to create a picture-in-a-picture effect.
Reference: https://www.makeuseof.com/davinci-resolve-how-to-create-animated-lower-third/
Ref: makeuseof
MediaDownloader.net -> Free Online Video Downloader, Download Any Video From YouTube, VK, Vimeo, Twitter, Twitch, Tumblr, Tiktok, Telegram, TED, Streamable, Soundcloud, Snapchat, Share, Rumble, Reddit, PuhuTV, Pinterest, Periscope, Ok.ru, MxTakatak, Mixcloud, Mashable, LinkedIn, Likee, Kwai, Izlesene, Instagram, Imgur, IMDB, Ifunny, Gaana, Flickr, Febspot, Facebook, ESPN, Douyin, Dailymotion, Buzzfeed, BluTV, Blogger, Bitchute, Bilibili, Bandcamp, Akıllı, 9GAG