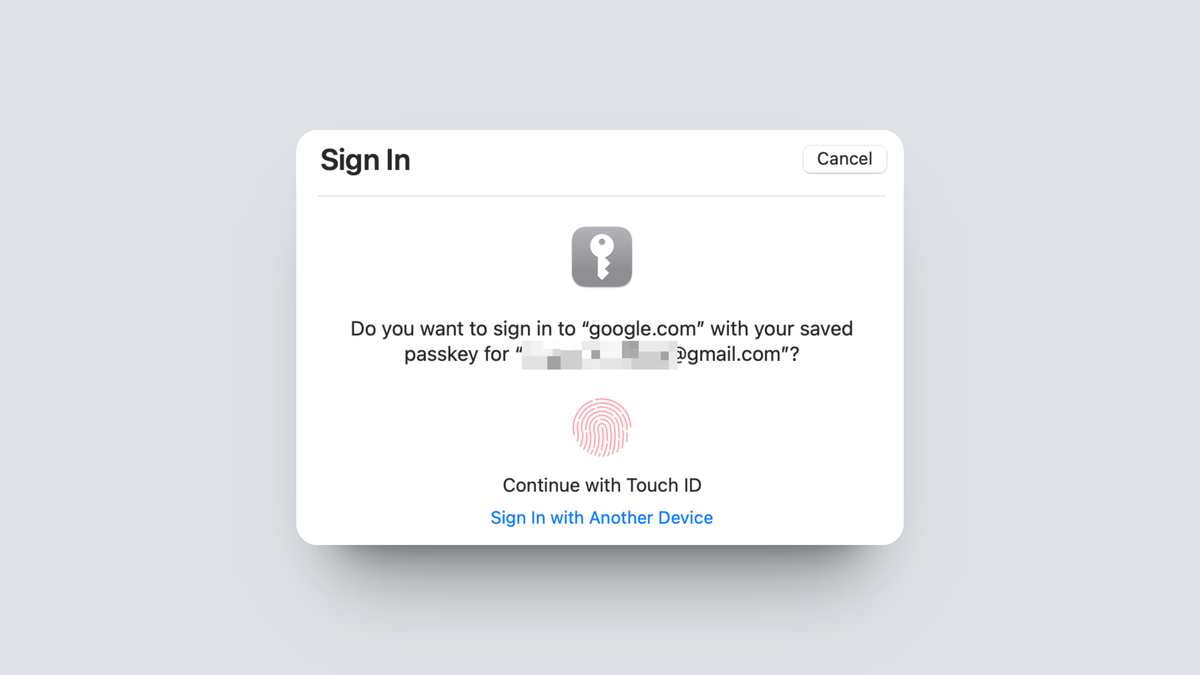
How to Use Passkeys on Your iPhone or Mac
Reading Time: 4 minutesIf you’re ready to ditch the password, Apple is more than happy to help.
A seamless login future is coming for all Apple users. Starting with iOS 16 and macOS Ventura, Apple offers built-in support for passkeys. You can add these new cryptographically generated keys directly to your iCloud Keychain and they’ll sync across all your devices using end-to-end encryption.
As long as a service, app, or website supports passkeys, you’ll be able to generate them and log into your account without ever needing a password, SMS 2FA, or an authenticator app. Here’s how to set one up to work with your iCloud keychain across all of your devices.
How Apple’s ecosystem of passkeys works
Passkeys are an industry-wide initiative to replace passwords with something a lot stronger, and actually easy to use. We’ve outlined how the FIDO Alliance (consisting of Apple, Google, Microsoft, and more) is moving towards implementing passkeys. Here’s a quick refresher, though: Passkeys are cryptographically generated keys that are unique to the device they are generated on. They work in pairs: One key is stored on your device, while the other is stored with the service holding your account. The passkey will only work with a particular account in concert with a particular device, removing the risk of phishing and other scam attacks.
When you generate a passkey using Safari on an Apple device, the passkey is stored to your iCloud Keychain account directly. This means that the same passkey will work on all your Apple devices signed in to iCloud. There’s no need to regenerate passkeys for each device, like you would have to do with Android and Windows devices. It’s important to note that this won’t work if you’re using a third-party browser like Chrome or Edge. You’ll either have to generate a new passkey for those browsers, or you’ll need to use your iPhone to authenticate, which can be done using a QR code scanner.
Now that you know how everything works, let’s learn how to set up a passkey. The exact steps will differ based on the website or app that you’re using. Currently, many websites like PayPal, Best Buy, and more support passkeys, and more companies are adding support every day. To ease this process, some companies like Google are still allowing users to use their password as a backup (though this is just a transitional tool).
How to create a passkey on iPhone and Mac
Before you get started, make sure your iPhone is running iOS 16 and your Mac is updated to macOS Ventura. Next, you’ll need to enable iCloud Keychain and the Autofill Passwords feature from Settings > Passwords > Password Options.
If you’re signing up for a new service, you can directly start using passkeys, and iCloud Keychain will take care of the whole thing for you—no need to generate a password. Similarly, if you already have an account, you can go to account settings in the app or website to find the option for adding passkeys.
We’ll take Google as an example, because they have done the best job so far embracing passkeys, including incorporating iCloud Keychain’s sync feature. You can create a passkey when signing up for a new Google account, or you can add a new one from Google Account > Security > Passkeys. (Here’s the direct link to the page). Here, click Create a passkey and from the popup, click Continue to create a passkey.
iCloud Keychain’s popup for creating a passkey will show up. Tap the Continue button and scan using Face ID on iPhone or Touch ID on Mac. (You can use the device password as a fallback, as well.) Tap the Done button. Once an iCloud Keychain passkey is created, it is synced to all your devices. You can go to the same Passkeys page in any account to delete, redo, or add a new passkey.
Once the passkey is created, using it is simple. To start, log in with your email. Google will know that your account has a passkey associated with it. Click the Continue button and authenticate using Face ID or Touch ID on your device.
Once the authentication is done, you’ll be logged in. (It won’t take more than a second or two.) If you’re logging in with a different browser, or if you want to temporarily log in to a different computer, you can use passkey’s cross-device authentication feature, which Google supports.
After entering your email address on the login page, use the Try another way option when you’re asked for a passkey. Here, choose the Use your passkey option to bring up a unique QR code.
Pull up your iPhone and scan the QR code using the camera. This will only work if your Bluetooth is enabled, as it uses Bluetooth proximity as a security feature. Once the QR code is scanned, tap the Sign in with a passkey button in the Camera app itself. Right here, the iCloud Keychain will pop up. Tap Continue, authenticate using Face ID, and bam, you’ll log in. It’s important to note your passkey won’t be added to the device where you’re logging in, and once you log out, you’ll have to authenticate using your iPhone again.
Reference: https://lifehacker.com/how-to-use-passkeys-on-your-iphone-or-mac-1850428402
Ref: lifehacker
MediaDownloader.net -> Free Online Video Downloader, Download Any Video From YouTube, VK, Vimeo, Twitter, Twitch, Tumblr, Tiktok, Telegram, TED, Streamable, Soundcloud, Snapchat, Share, Rumble, Reddit, PuhuTV, Pinterest, Periscope, Ok.ru, MxTakatak, Mixcloud, Mashable, LinkedIn, Likee, Kwai, Izlesene, Instagram, Imgur, IMDB, Ifunny, Gaana, Flickr, Febspot, Facebook, ESPN, Douyin, Dailymotion, Buzzfeed, BluTV, Blogger, Bitchute, Bilibili, Bandcamp, Akıllı, 9GAG